原创蜜蜂剪辑叠附效果怎么显示-蜜蜂剪辑实现叠附效果的教程
近日有一些小伙伴咨询小编关于蜜蜂剪辑叠附效果怎么显示呢?下面就为大家带来了蜜蜂剪辑实现叠附效果的教程方法,有需要的小伙伴可以来了解了解哦。
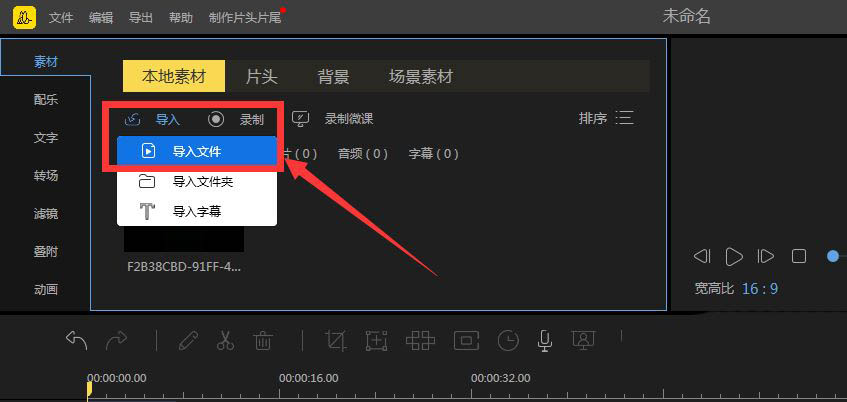
进入蜜蜂剪辑素材处,选择导入,将本地文件素材拖入。
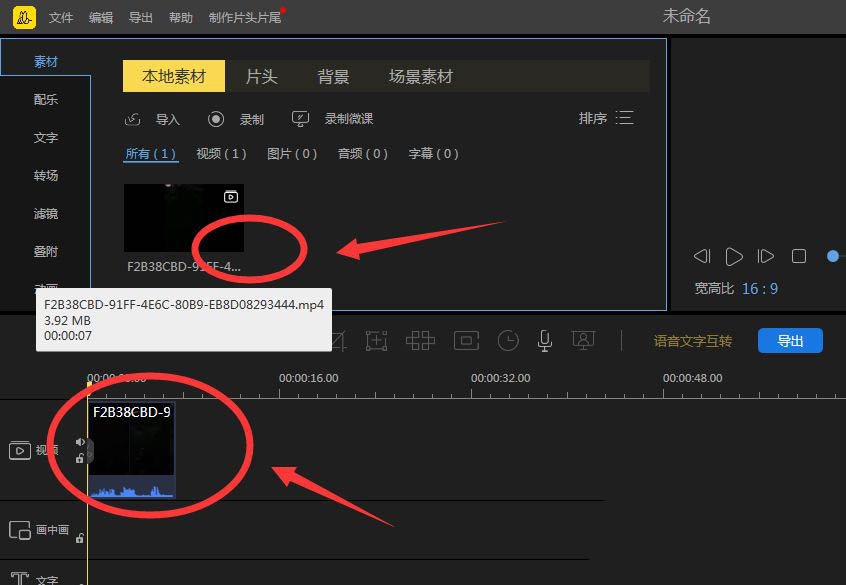
然后添加的视频素材,移动到视频轨道上。
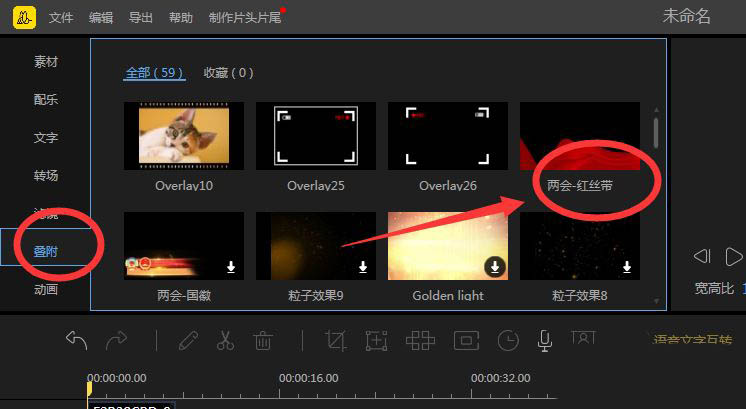
随后选择左侧的叠附工具栏,下载需要的叠附效果(如:两会·红丝带)。
然后将两会-红丝带拖至时间线使其生效。
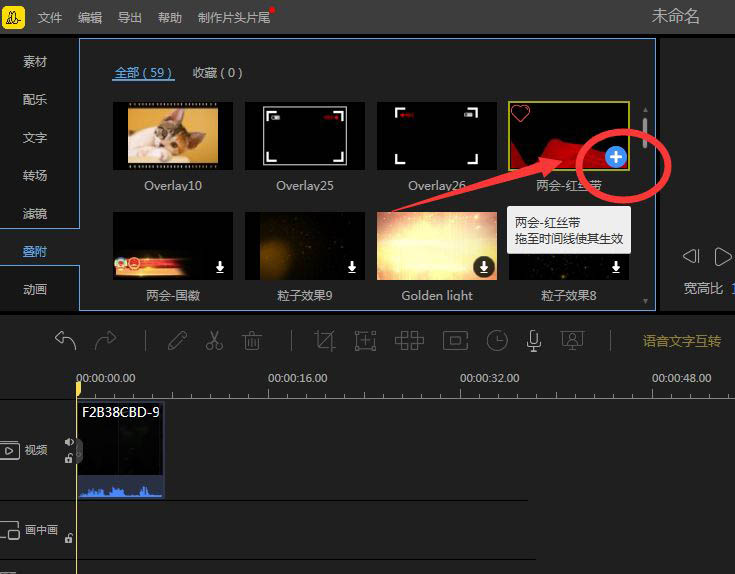
最后将红丝带叠附效果拉取到与视频相同长度,保存设置。

以上就是蜜蜂剪辑添加叠附效果的技巧,希望大家喜欢哦!