原创Adobe Illustrator CS6如何画矩形网格-Adobe Illustrator CS6画矩形网格的方法
你们是不是和小编一样都喜欢使用Adobe Illustrator CS6软件,那么你们晓得Adobe Illustrator CS6如何画矩形网格吗?接着,小编就为各位带来了Adobe Illustrator CS6画矩形网格的方法,对此感兴趣的用户快拉来下文看看吧。
打开桌面上的Adobe Illustrator CS6软件
![](https://img.pcsoft.com.cn/news/202307/115125-64c1e9bdb100a.png)
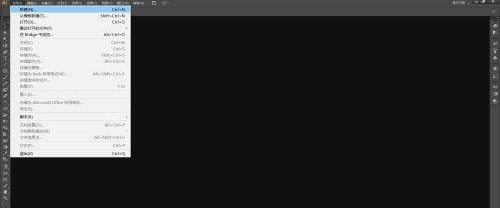
在菜单栏找到并依次点击【文件】、【新建】
![](https://img.pcsoft.com.cn/news/202307/115130-64c1e9c2d6568.png)
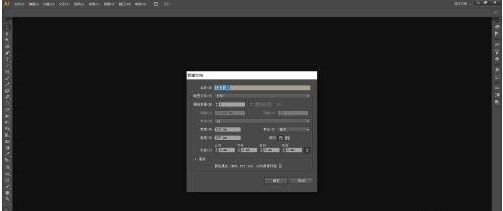
在弹出的窗口设置好参数,点击【确定】,新建文档
![](https://img.pcsoft.com.cn/news/202307/115136-64c1e9c871c8c.png)
在左边工具栏里找到并长按【直线段工具】打开下拉列表
![](https://img.pcsoft.com.cn/news/202307/115141-64c1e9cd76789.png)
在下拉列表里选择【矩形网格工具】
![](https://img.pcsoft.com.cn/news/202307/115146-64c1e9d25d8c4.png)
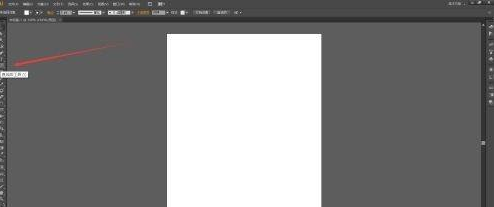
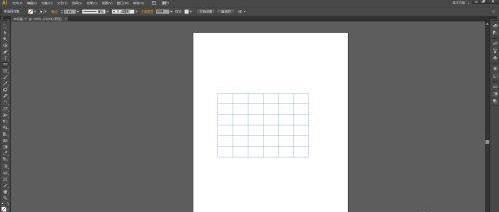
使用【矩形网格工具】在画布上单击并拖动,然后释放,矩形网格就画好了
![](https://img.pcsoft.com.cn/news/202307/115151-64c1e9d7e9442.png)
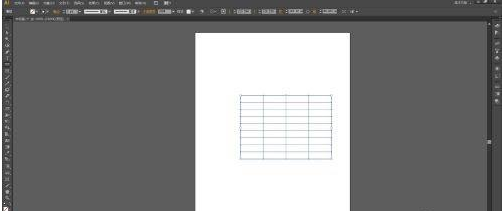
设置好参数之后点击【确定】,矩形网格就画好了
![](https://img.pcsoft.com.cn/news/202307/115158-64c1e9de31784.png)
以上就是小编给大家带来的Adobe Illustrator CS6画矩形网格的方法,希望本文内容能帮助到大家!