原创ps怎么制作极坐标扭曲效果-ps制作极坐标扭曲效果方法
ps是一款功能强大的图片处理软件,那么如何使用ps将图片制作极坐标扭曲效果呢?接下来小编就为大家带来了ps制作极坐标扭曲效果方法哦,感兴趣的朋友可以来参考参考哦。
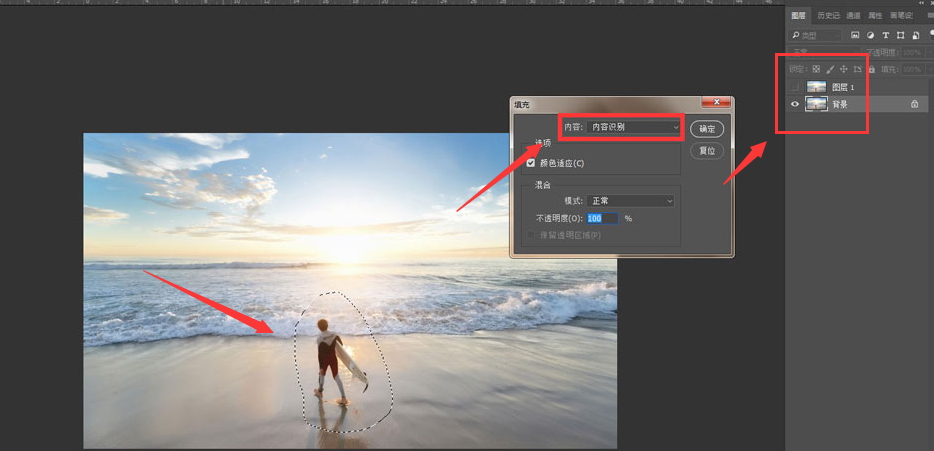
1.首先,在ps软件中,导入图片素材后,按下键盘的Ctrl+J键复制图层,随后框选背景图层中的人物,点击填充内容识别选项去除人物画面
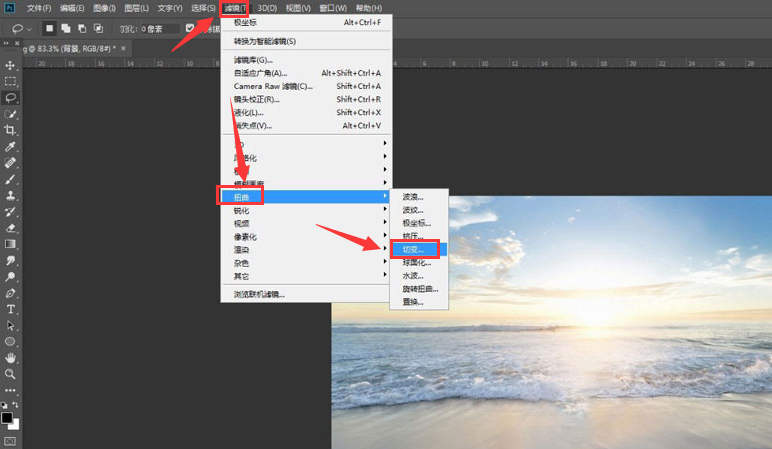
2.然后,在上方的滤镜菜单中,点击扭曲栏目下的切变按钮
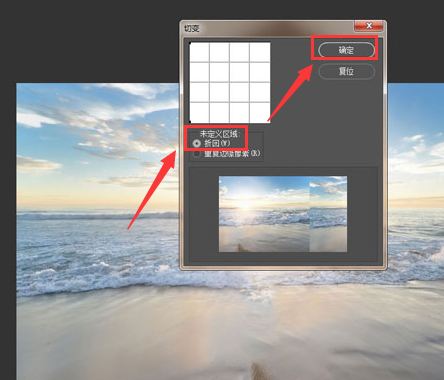
3.接着,在弹出的设置窗口中勾选折回按钮,点击确定保存
4.随后,用污点修复画笔工具,抹除添加的切变硬边

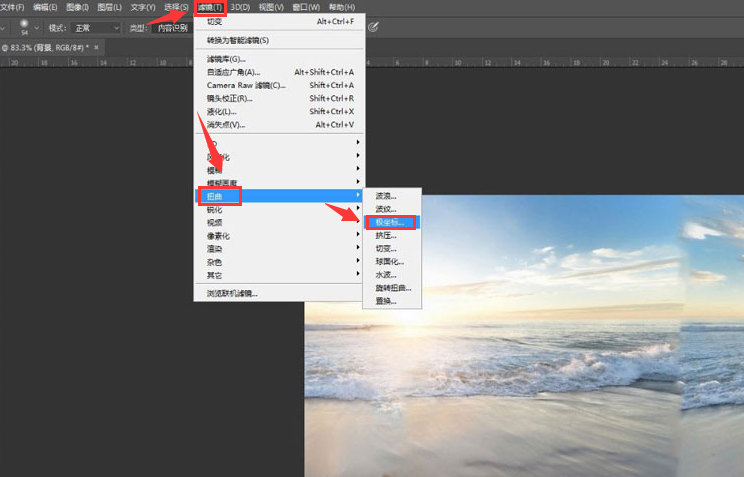
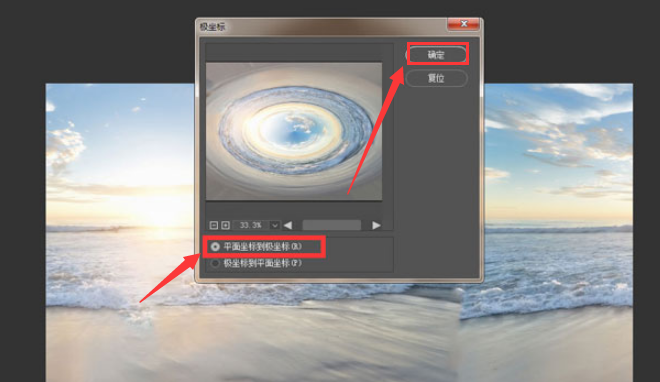
5.再次,打开滤镜菜单,在扭曲栏目中添加极坐标效果
6.最后,勾选平面坐标到极坐标按钮后点击确定保存后,打开复制图层的人物显示,并为两个图层添加蒙版即可
以上就是小编带来的ps制作极坐标扭曲效果方法,大家可以试着制作哦。