原创ps怎么进行悬停抠图-ps悬停抠图方法介绍
ps软件是我们常用的一款图片处理软件,那么ps怎么进行悬停抠图呢?或许有的小伙伴还不太清楚,那么今天小编就为大家带来了ps悬停抠图方法介绍哦,希望可以帮助各位小伙伴更好地使用ps软件。
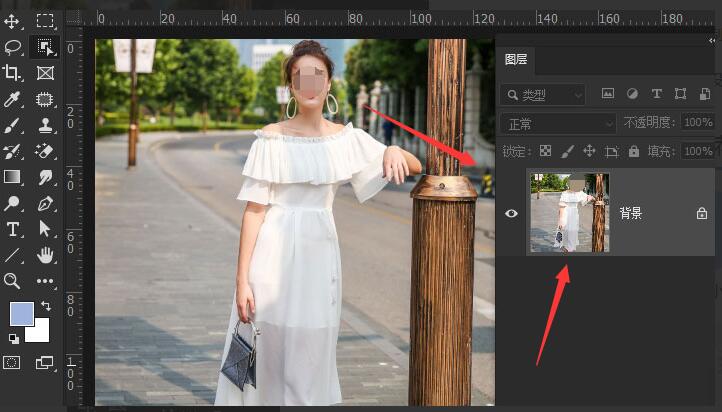
1.首先,打开一个图片作为背景层
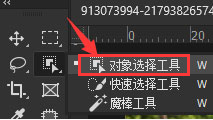
2.然后,在工具箱中找到并点击对象选择工具按钮
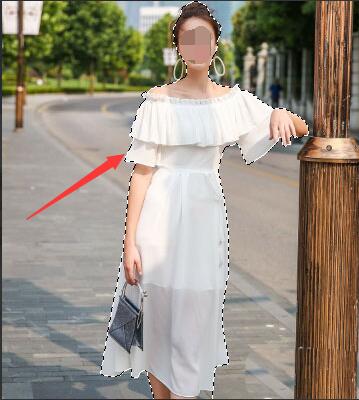
3.随后,将鼠标指针移动到图片人物位置,等待人物呈现半透明蓝色状

4.随后,单击鼠标,系统就会自动生成对人物的选区
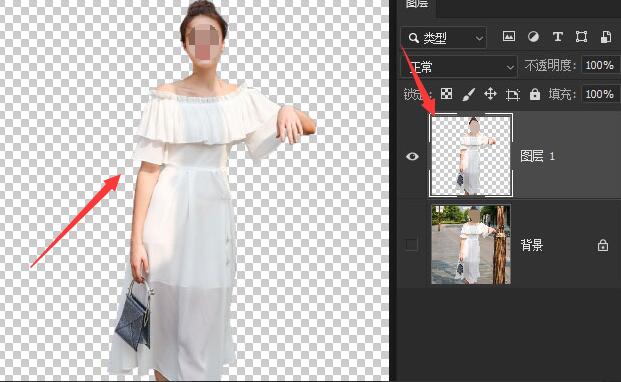
5.最后,按下键盘的Ctrl+J键,即可对人物进行图层拷贝
以上就是小编带来的ps悬停抠图方法介绍,感兴趣的朋友赶快来看看吧。