原创ps怎么修改文字描边图案-ps修改文字描边图案教程
相信大家都知道ps软件是可以为艺术字添加描边的,那么大家知道怎么修改文字描边图案吗?现在小编就为大家带来了ps修改文字描边图案的方法哦,感兴趣的朋友可以来看看哦。
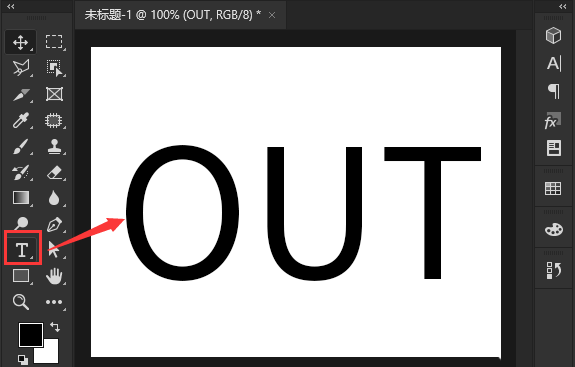
1.首先,在ps软件中,点击文字工具输入英文字母
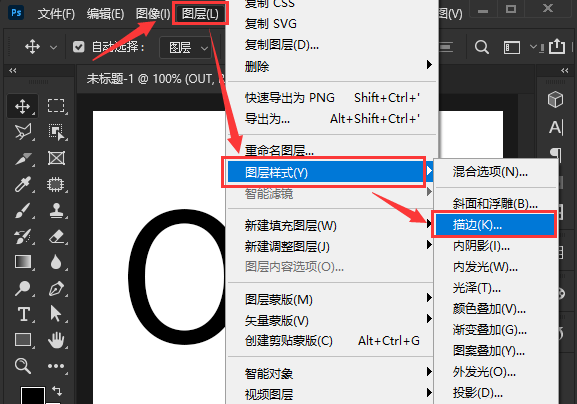
2.点击图层菜单中的图层样式按钮,打开描边选项
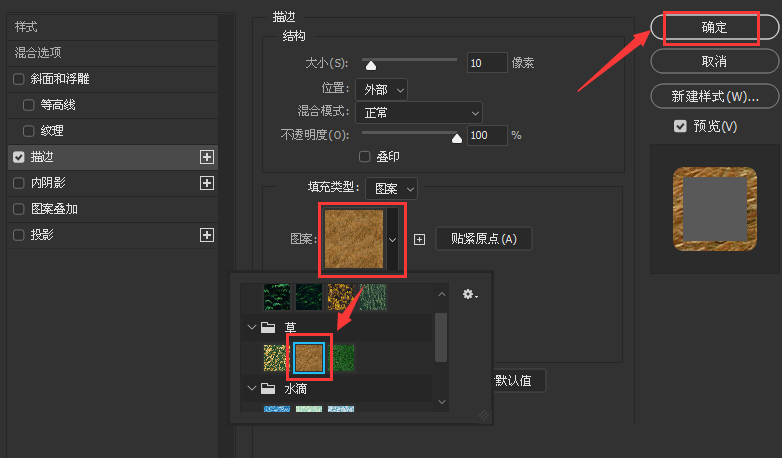
3.在描边属性栏目中,打开填充类型选项的下拉菜单,选择图案效果

4.在图案列表中选择一个喜欢的图案,适当调整角度后,点击确定保存即可
以上就是小编带来的ps修改文字描边图案教程,感兴趣的朋友不要错过本篇教程哦。