原创怎么添加excel表格立体效果-excel单元格添加三维立体效果的技巧
怎么添加excel表格立体效果呢?今天小编就带大家来共同学习excel单元格添加三维立体效果的技巧,希望可以帮助到有需要的小伙伴哦,下面就是详细完整的操作步骤。
怎么添加excel表格立体效果-excel单元格添加三维立体效果的技巧
首先,双击打开excel表格;

选中一大块区域,点击“开始”下面的颜色填充图标;
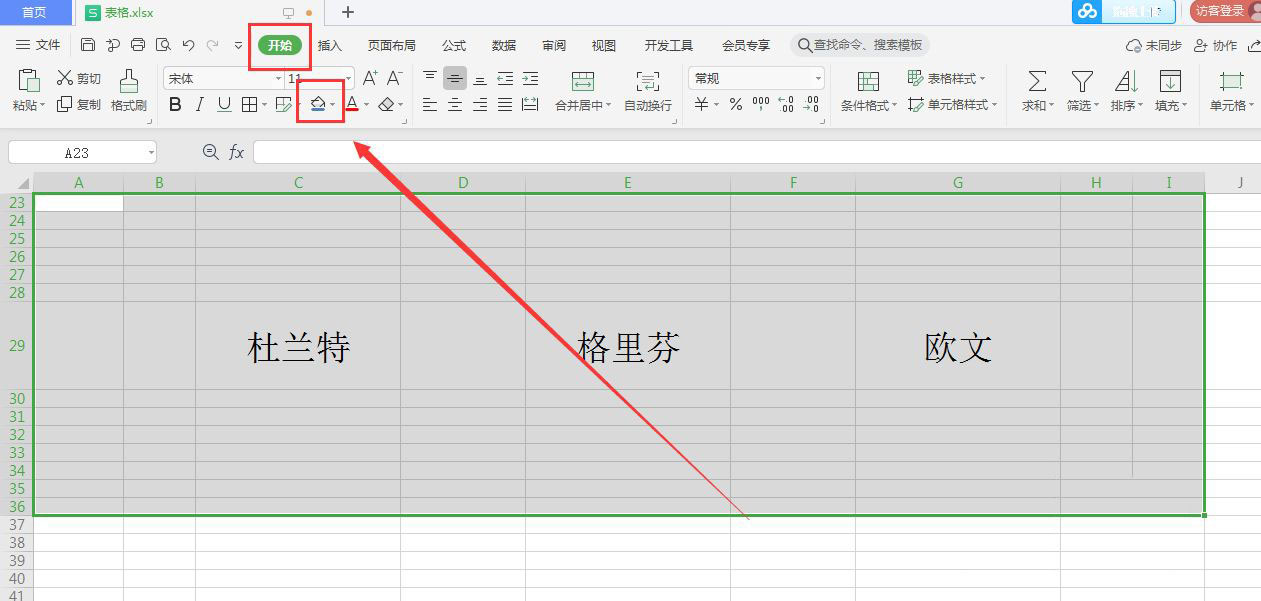
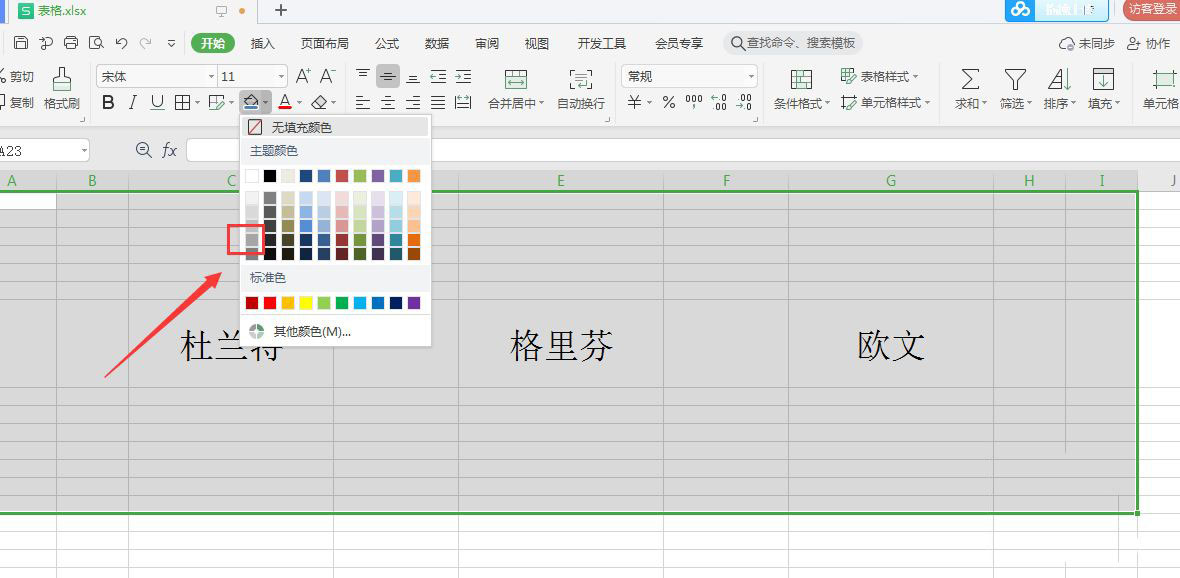
将填充颜色设置为“灰色”;
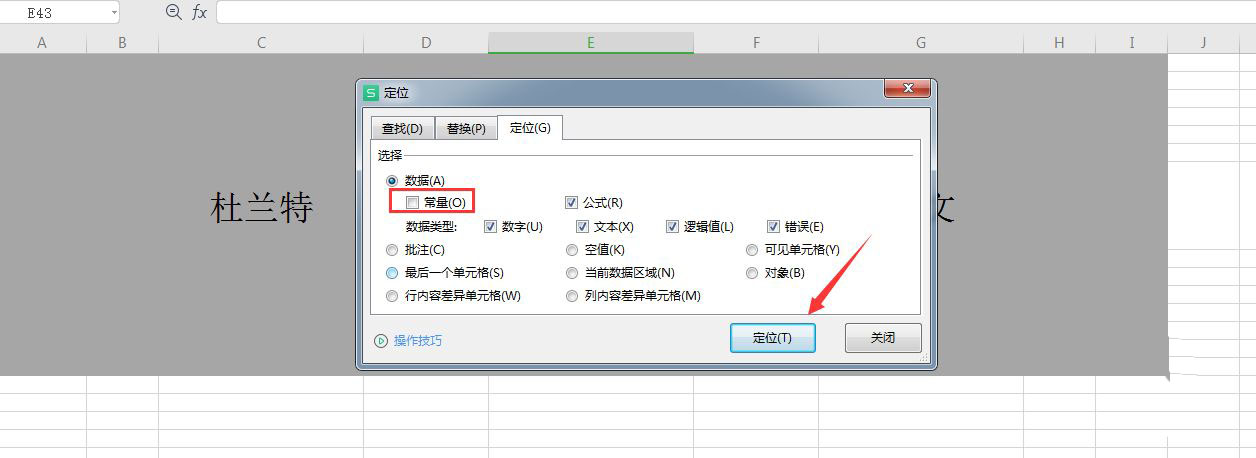
按键盘快捷键“ctrl+G”打开定位窗口,勾选“常量”,点击“定位;”
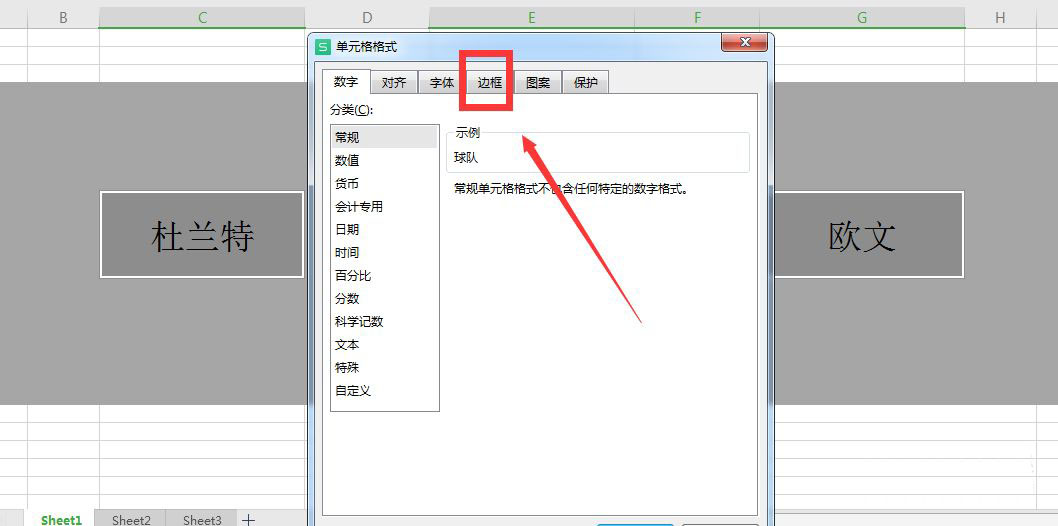
选中单元格,点击鼠标右键,选择“设置单元格格式”;

选择“边框”;
线条样式选粗线条,颜色选择“白色”;
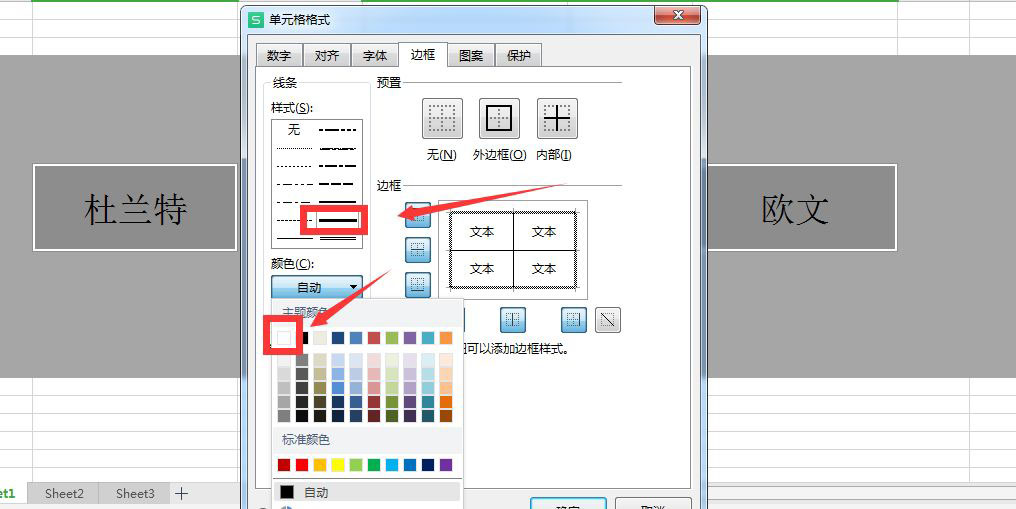
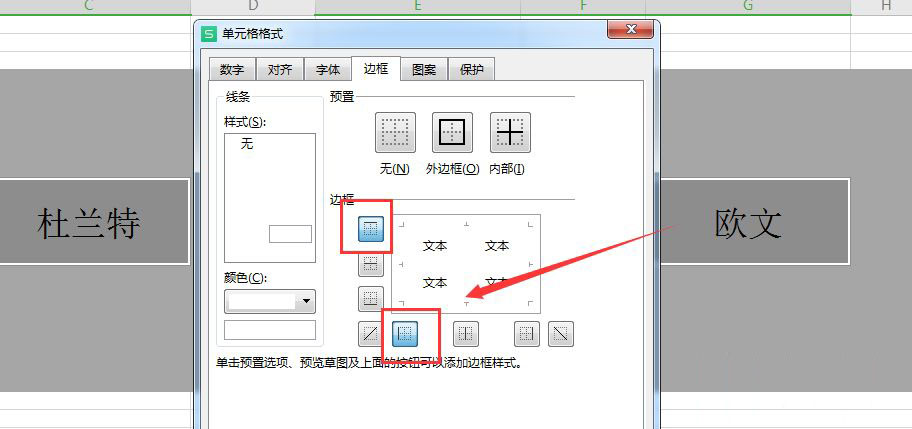
然后选择“上边框”和“左边框”;
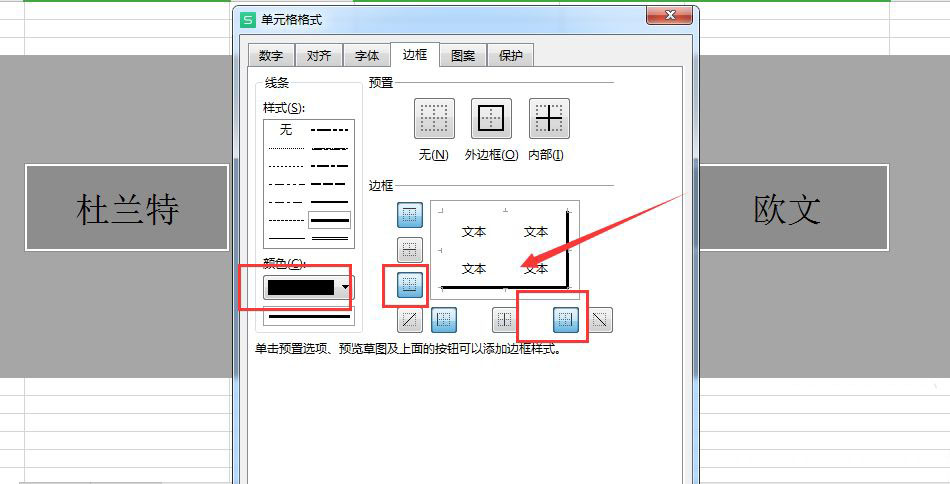
再将颜色设置为黑色,点击“下边框”和“右边框”;
设置完毕后,点击“确定”;
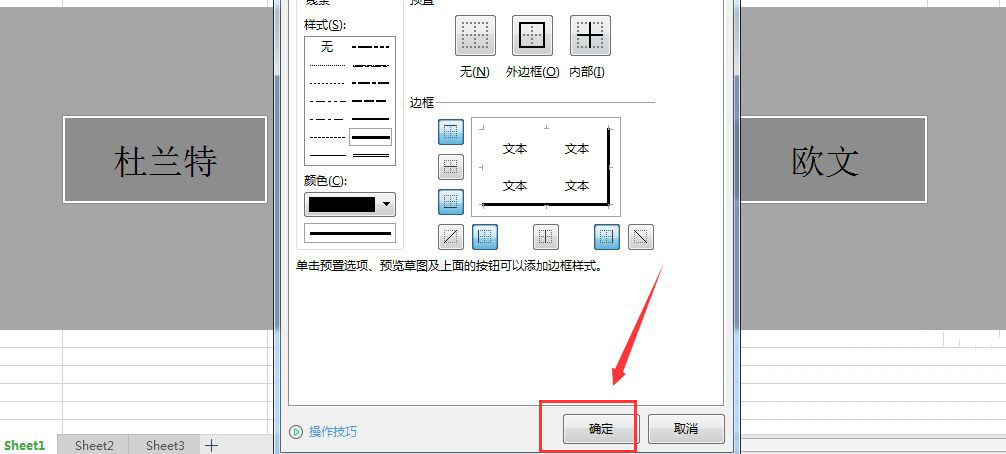
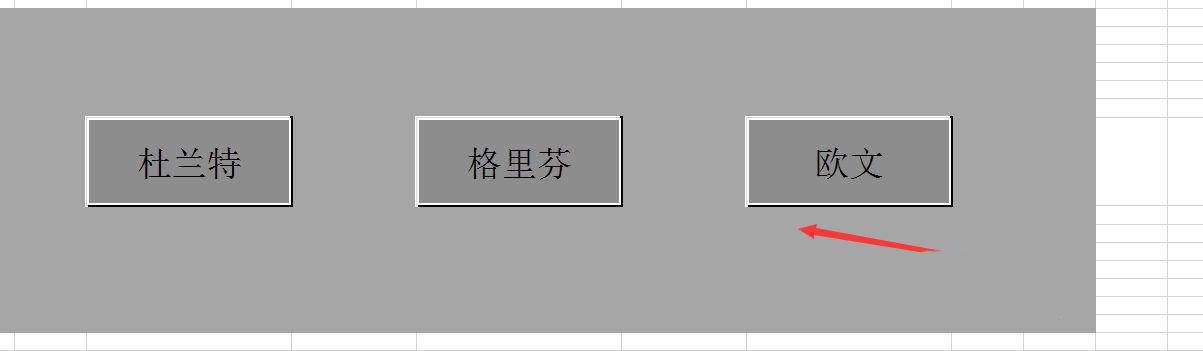
此时的单元格就会呈现出立体感效果了。
以上就是excel单元格添加三维立体效果的技巧,希望大家喜欢哦。