原创ps玫瑰花背景图如何做喷色描边效果-ps喷色描边滤镜的用法
一些网友表示还不太清楚ps玫瑰花背景图如何做喷色描边效果的相关操作,而本节就介绍了ps喷色描边滤镜的用法,还不了解的朋友就跟着小编学习一下吧,希望对你们有所帮助。
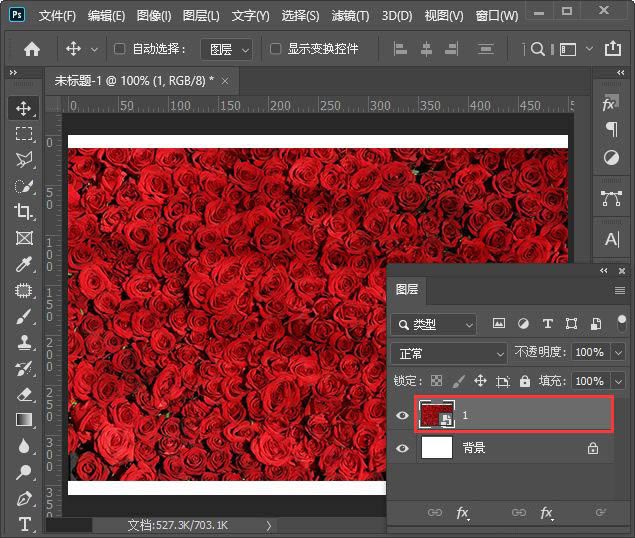
我们在白色画布上面拖入一张(需要制作喷色描边效果的)图片,如图所示。
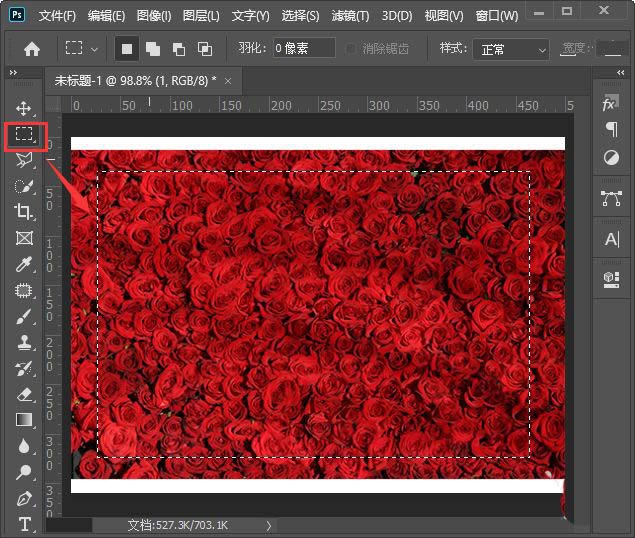
接着,我们用【矩形选框工具】框选中图片需要的部分,如图所示。
框选中图片之后,我们在图层的下方给图片添加上蒙版,如图所示。
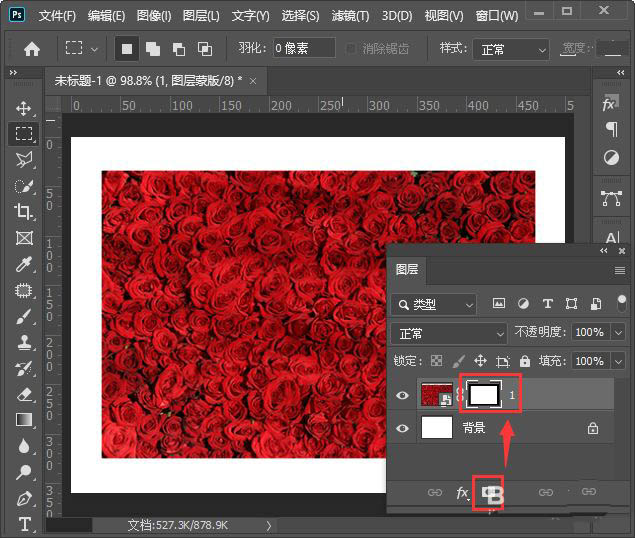
接下来,我们选中蒙版,然后在上方点击【滤镜】找到【滤镜库】,如图所示。

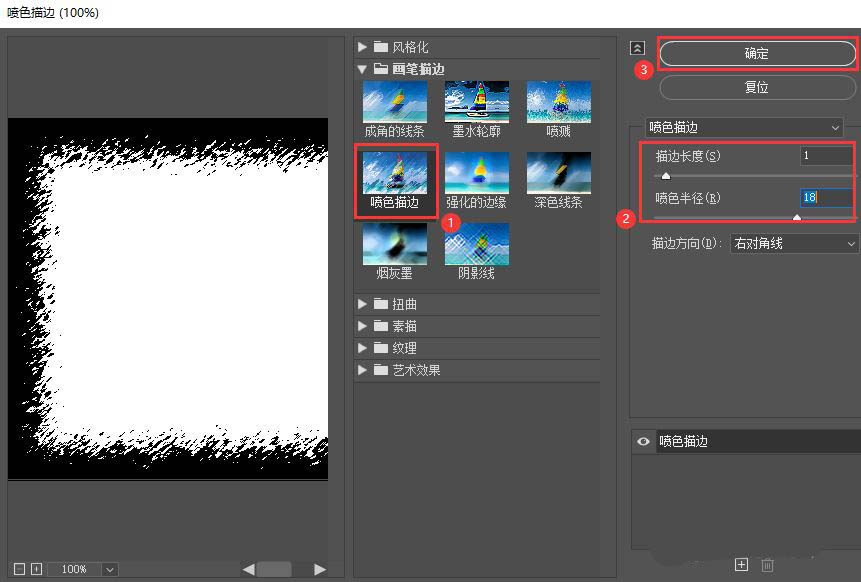
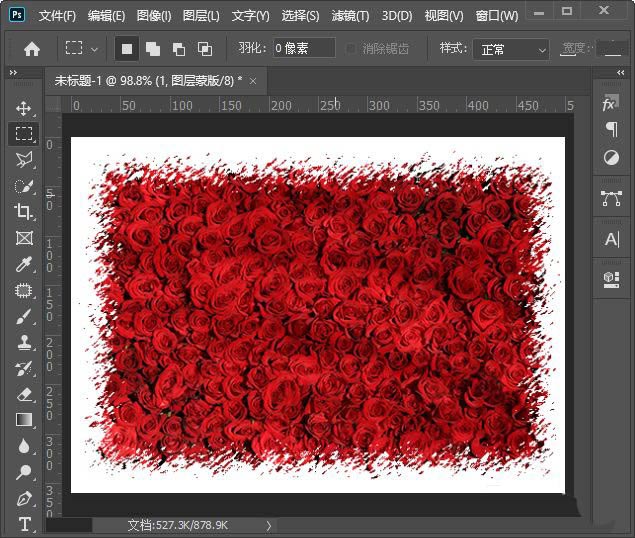
我们在【画笔描边】中选择【喷色描边】,然后调整描边长度和喷色半径的参数,点击【确定】,如图所示。
最后,我们看到图片就变成喷色描边的效果了。
以上就是ps喷色描边滤镜的用法,希望大家喜欢哦。