原创PS怎么快速做墨水图案-PS快速做墨水图案的教程
亲们想知道PS怎么快速做墨水图案的操作吗?下面就是小编整理的PS快速做墨水图案的教程方法,赶紧来看看吧,希望能帮助到大家哦!
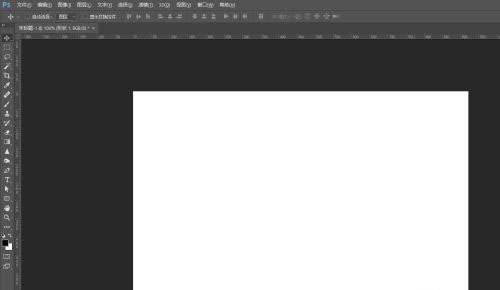
1、首先打开PS软件,点击菜单栏“文件”---“新建”,设置好宽度高度,创建空白文件
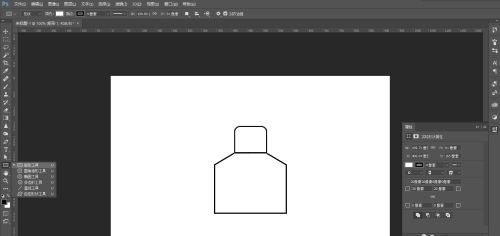
2、从工具栏找到“钢笔工具”,或者使用快捷键P,勾出一个形状,填充白色,加上黑色描边

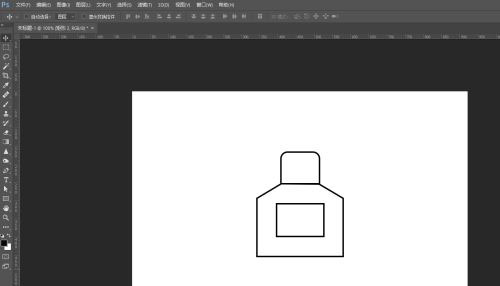
3、再从工具栏找到“矩形工具”,绘制一个矩形,移到相对应位置,从属性里面更改角半径
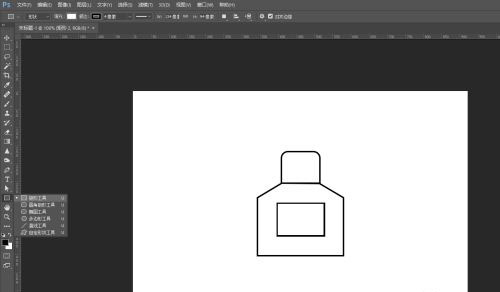
4、最后用“矩形工具”,绘制一个矩形,移到相对应位置
5、这样就做出简约的墨水图案
以上就是PS怎么快速做墨水图案的详细内容,希望对你们有所帮助。