原创ps如何制作创意的文字效果-ps制作文字一半透明教程
近日有一些小伙伴咨询小编关于ps如何制作创意的文字效果呢?下面就为大家带来了ps制作文字一半透明教程方法,有需要的小伙伴可以来了解了解哦。
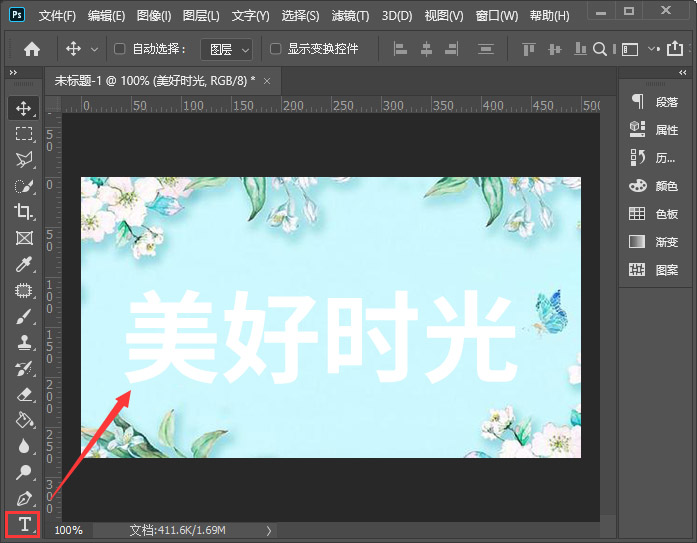
我们用【文字工具】在背景图上面输入文字填充为白色,如图所示。
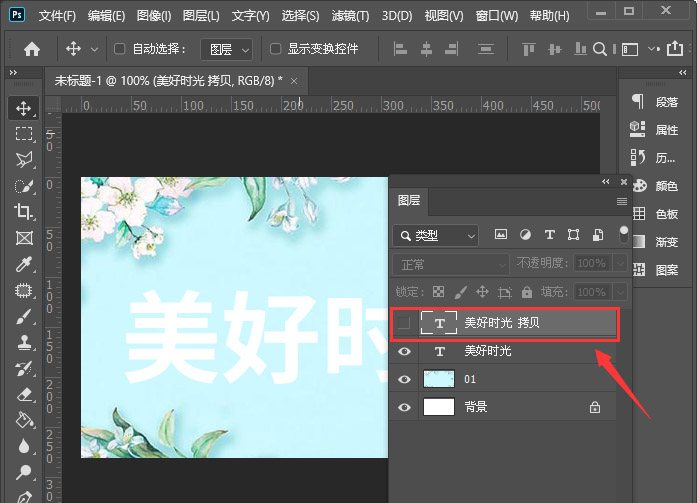
接着,我们按下【CTRL+J】把文字复制一份出来,然后把它暂时隐藏起来,如图所示。
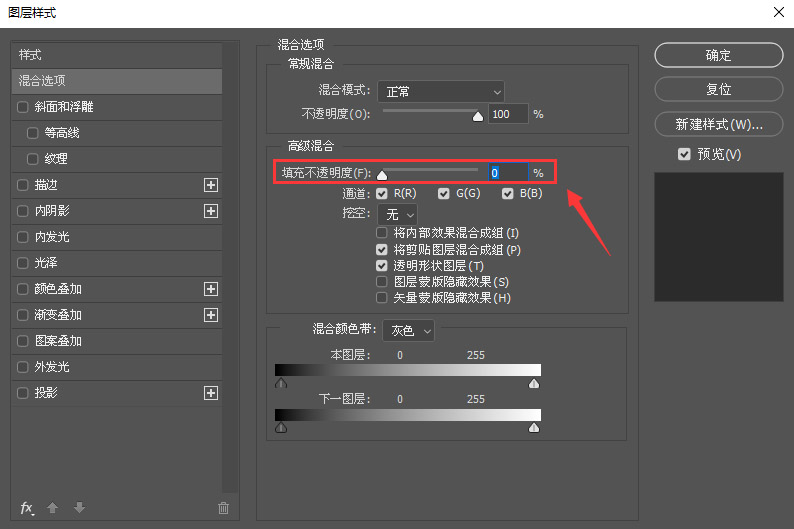
我们双击下面的文字,打开图层样式把填充不透明度调整为【0】,如图所示。
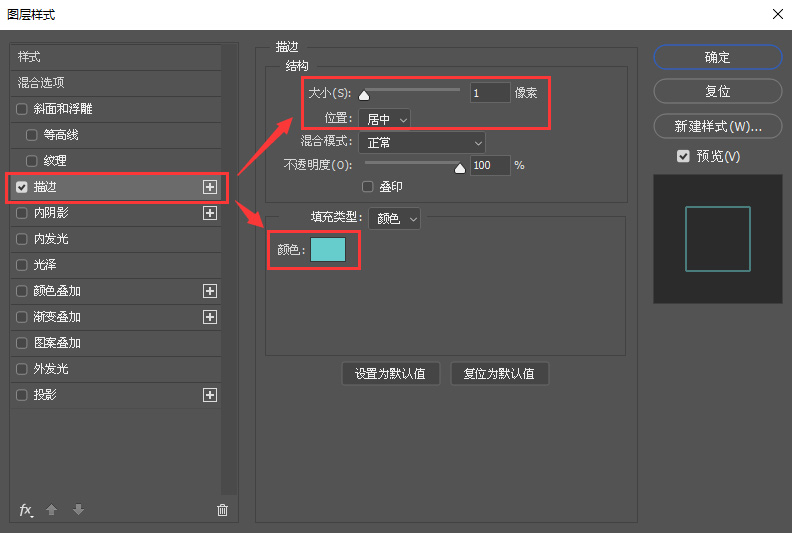
我们点击【描边】设置好颜色,把大小设置为【1】像素,位置选择【居中】,如图所示。
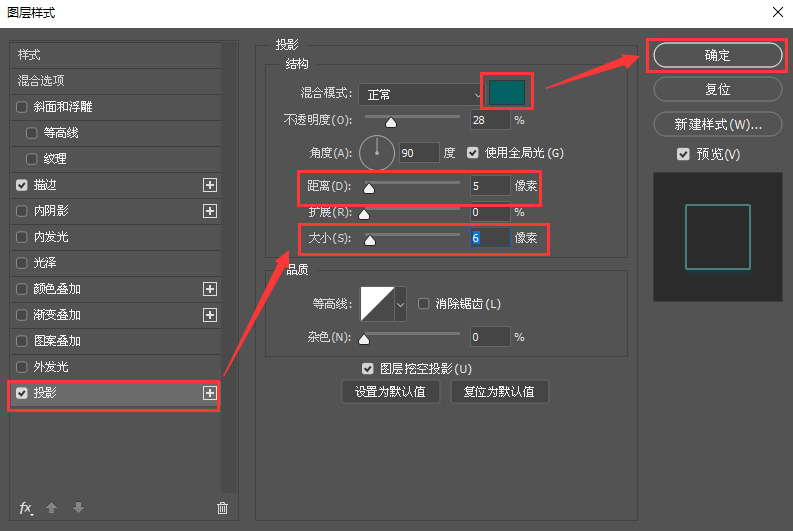
接下来,我们点击【投影】把大小调整为【6】像素,距离为【5】像素,然后设置投影颜色,点击【确定】,如图所示。
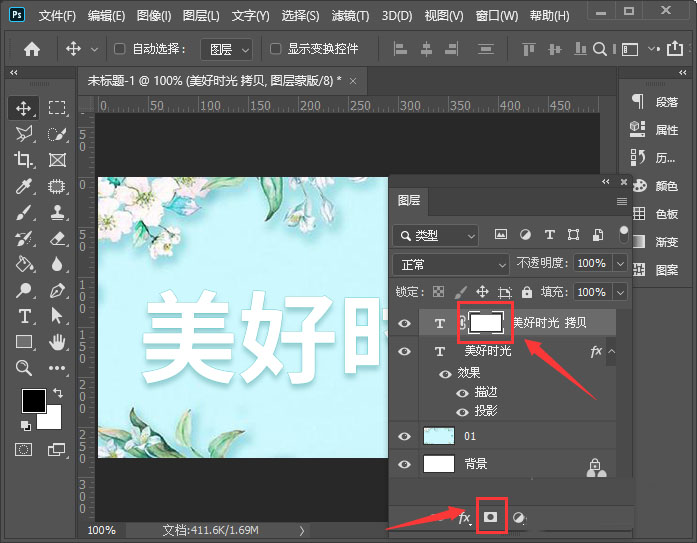
我们显示上面的文字,添加图层蒙版,如图所示。
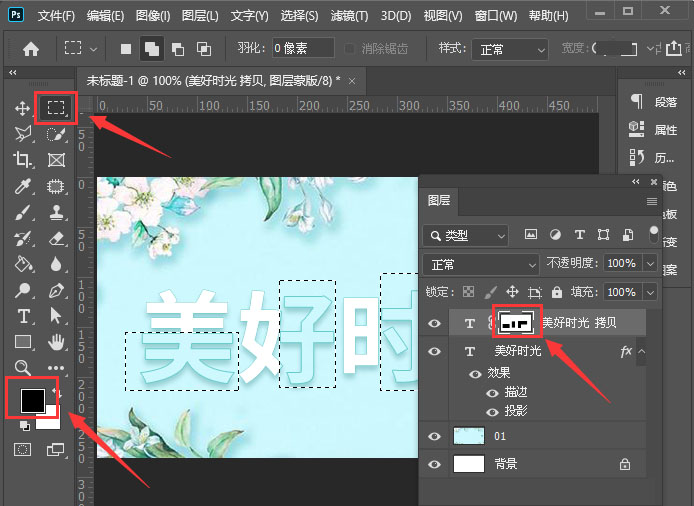
我们添加蒙版之后,用【矩形选框工具】框选中部分文字,填充为黑色,如图所示。
最后,我们看到创意的文字效果就制作好了。

以上便是小编为大家分享的ps制作文字一半透明教程的全部内容,希望能够帮到你哦!