原创word文档中插入图片只显示一条线的处理操作步骤
word文档中插入图片只显示一条线如何处理呢?今天笔者讲述了word文档中插入图片只显示一条线的处理操作步骤 ,下文就是word文档中插入图片只显示一条线的处理教程,有需要的朋友一起来学习吧。
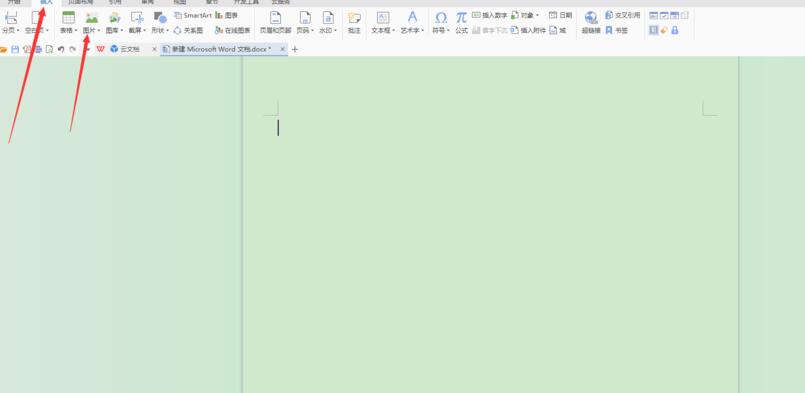
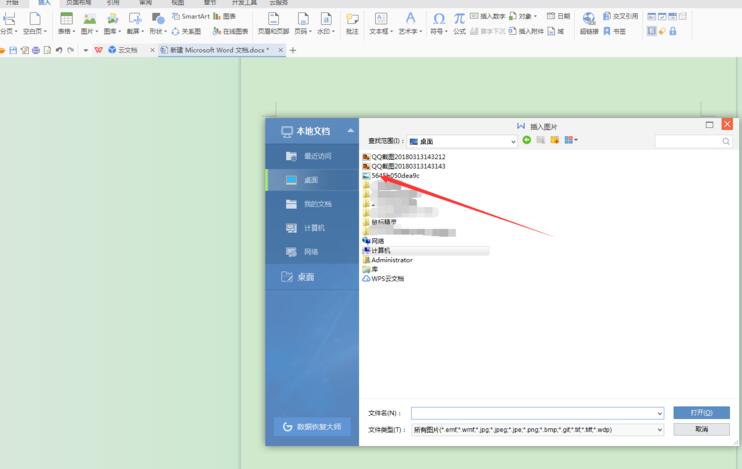
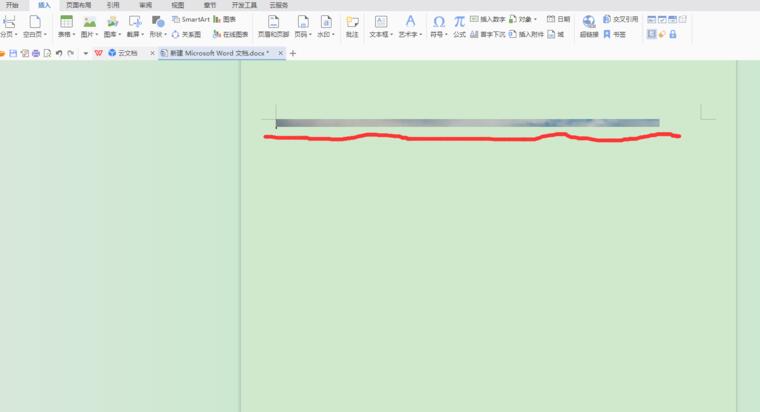
首先点击工具栏中的“插入”选项,选择“图片”,在弹出的窗口中找到需要插入的图片。也可以直接复制图片,在word页面,右键“粘贴”。如图为只显示一条线的情况。
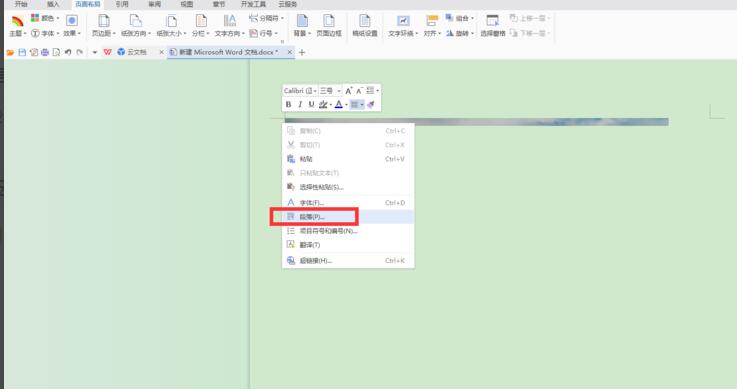
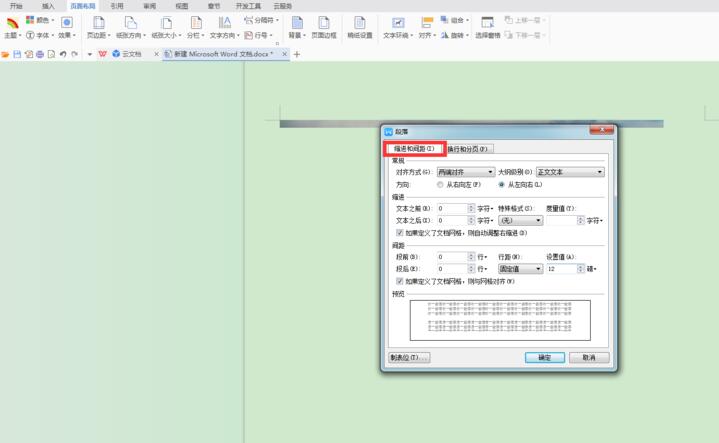
把光标点击在图片前面,然后点击右键,点击选择其中的“段落”选项。
在弹出的窗口中选择“缩进和间距”,对其中的“行距”进行设置。
若插入的图片只显示一条线,一般情况下“行距”下所选为“固定值”,主要是对其进行修改。
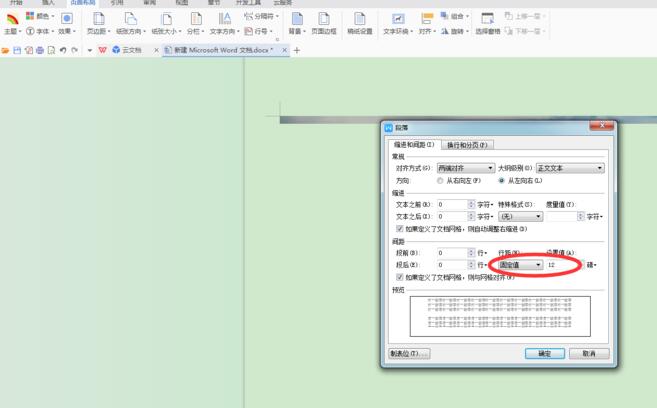
点击方框中右边的小三角,打开下拉菜单,显示出“行距”的分类。

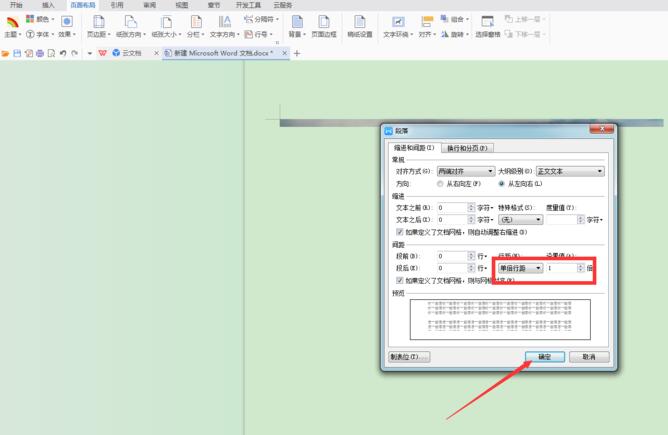
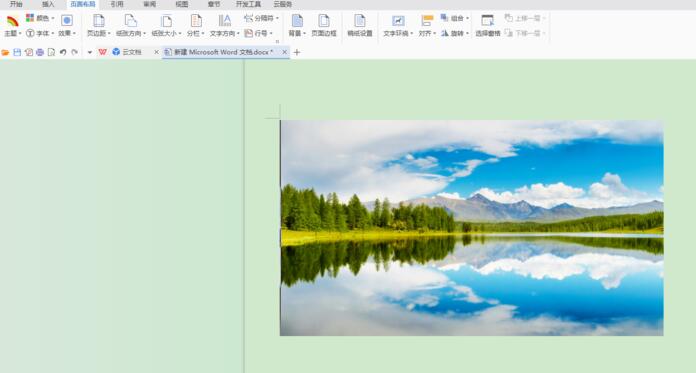
选择其中的“单倍行距”,点击“确定”,图片就能完整的显示出来了。若图片前后有文字,注意仅编辑图片所在那一行的行距就行,文字如果也编辑成“单倍行距”会显得略宽不好看,文字一般设置为“固定值28.5”。
还不了解word文档中插入图片只显示一条线的处理操作的朋友们,不要错过小编带来的这篇文章哦。