原创Adobe Premiere Pro CS6设置显示视频关键帧的具体操作方法
说到Adobe Premiere Pro CS6软件,相信很多人都在使用,不过你们晓得Adobe Premiere Pro CS6中如何显示视频关键帧呢?下文教程就为各位带来了Adobe Premiere Pro CS6设置显示视频关键帧的具体操作方法。
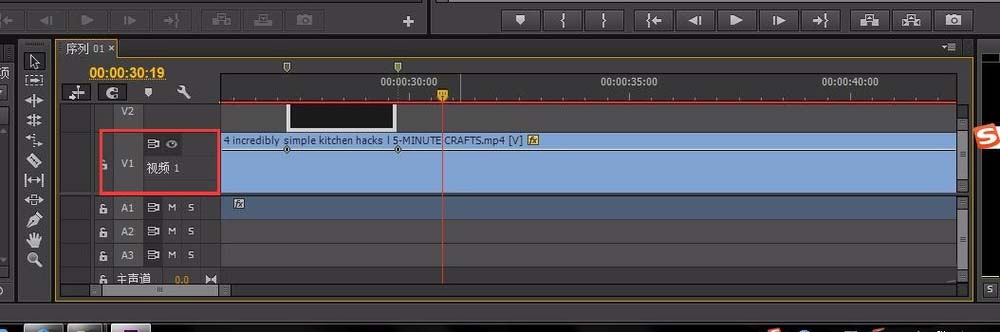
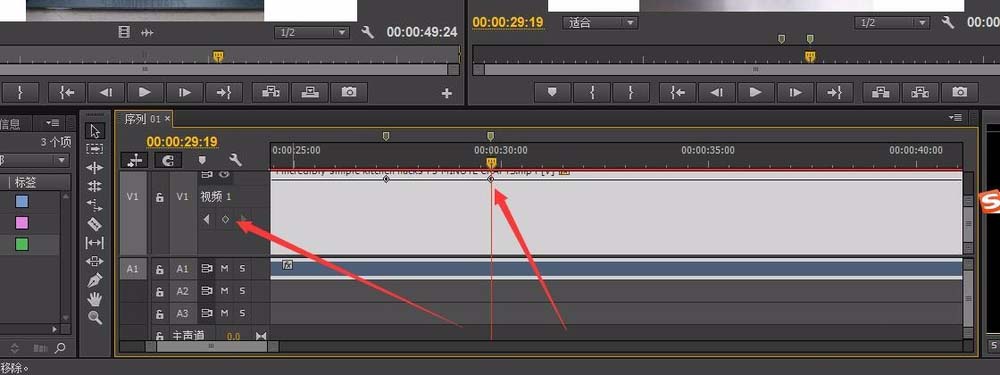
首先我们看到这里没有添加关键帧的按钮
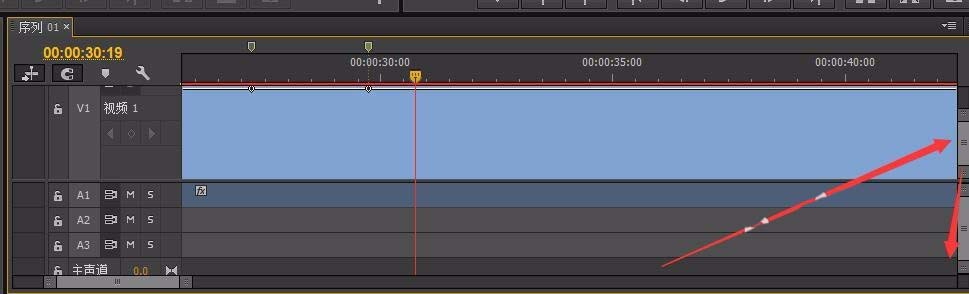
然后我们在右边的滑块,往下拉。再回到刚刚的地方,出现了添加关键帧的按钮
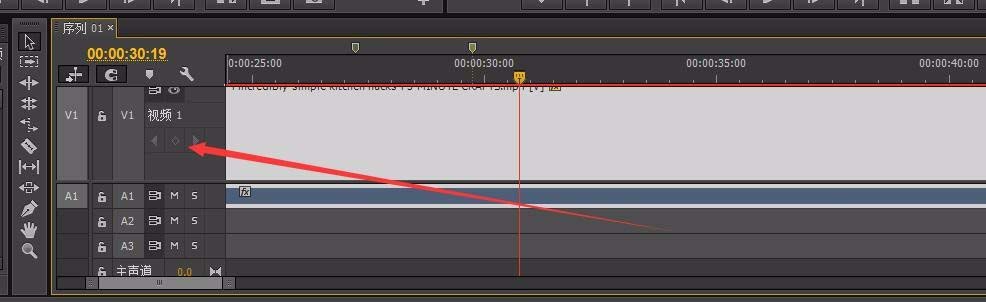
但是这个时候,添加关键帧的按钮是灰色的,没有办法添加关键帧
这时候我们需要找到这个扳手图标,点击设置“显示视频关键帧”打上对勾
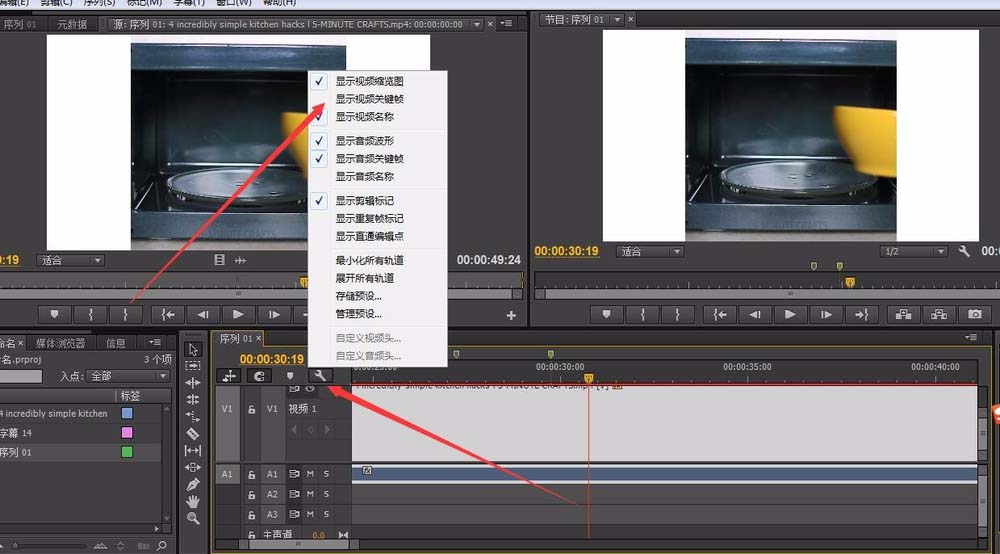
这是我们看到添加关键帧按钮亮了,我们点击,就可以添加关键帧了!
根据上文为你们讲述的Adobe Premiere Pro CS6设置显示视频关键帧的具体操作方法,你们是不是都明白了呀!